Why Does Hard Candy Stick to Silicone Molds During the Melting Process?
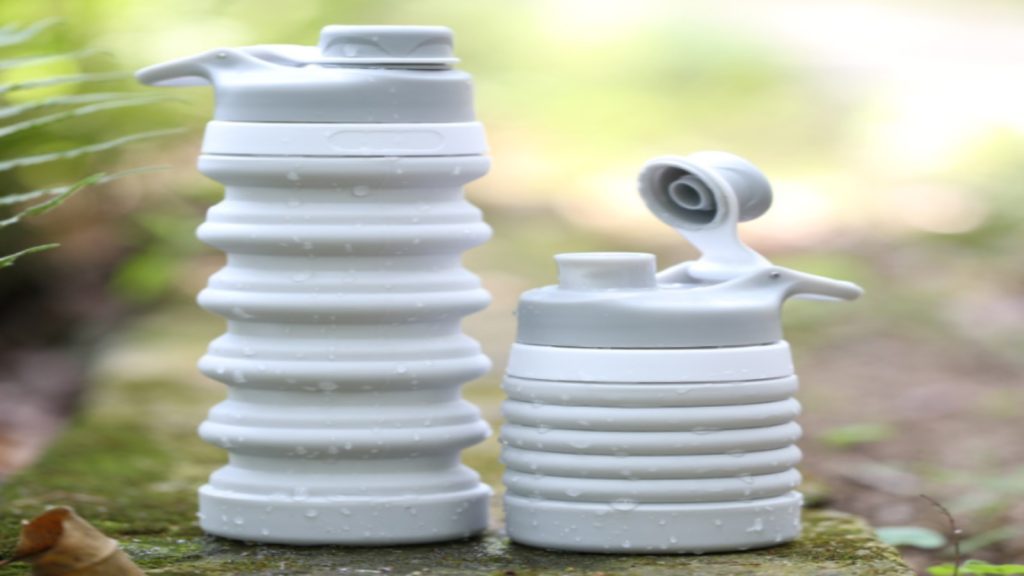
When working with 2024年10月 – CASINDA, many confectioners face annoying sticking problems. These issues ruin the clear look and correct shape of the finished sweets. Knowing the basic chemical and physical reasons for this trouble is highly helpful.
The Chemical Behavior of Melting Hard Candy in Silicone Molds
During the process of melting hard candy, sugar structures break down because of the high heat. This change creates sticky particles. These particles grab onto nearby surfaces. Silicone molds usually give great protection against sticking. However, poor temperature control lets sugar polymers grab the mold for a short time. Too much heat makes the syrup thicker. As a result, the cooled candy does not pop out smoothly.

Factors Affecting the Adhesion of Melted Hard Candy
Water inside melted hard candy changes how crystals grow. High humidity or leftover water makes the mix much stickier. Fast cooling also makes the hot sugar and the silicone shrink at different rates. This catches tiny syrup layers. These layers refuse to let go easily. Also, dirt, oils, or dust on the molds causes extra problems.
How Mold Surface Texture Impacts Melting Hard Candy Behavior
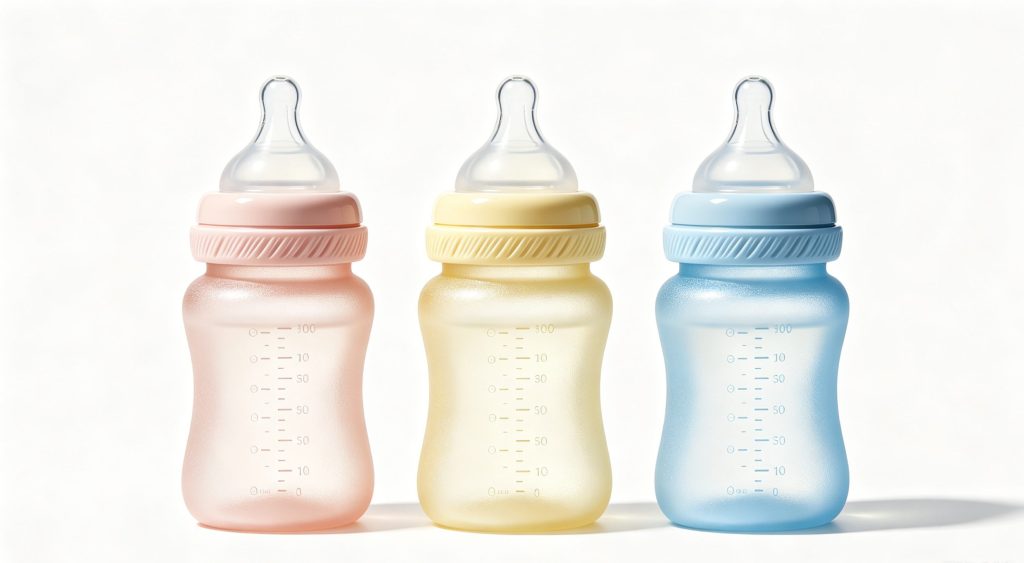
Surface traits are very important for melting hard candy in コメント: 赤ちゃんシリコーン透明なニップル. Very smooth silicone lowers friction a lot. But it might catch air bubbles under the hot sugar. This action creates small sticky spots. On the other hand, rough molds add tiny grabbing points. These points raise the chance of unwanted sticking. Good mold prep ensures an easy release. It also keeps crisp, sharp shapes.
How to Prevent Melting Hard Candy From Sticking to Silicone Molds Effectively
Preparing Silicone Molds Before Pouring Melted Hard Candy
Clean the molds well using a mild soap before you start pouring melted hard candy. Make sure they are totally dry. Spray a very thin layer of food-safe release spray. This spray works great with CASINDA silicone. This step makes sure the candy comes out perfectly. Warm the molds a little bit first. This helps reduce heat shock from the hot sugar. It also protects the inside surface.
We have a great technical team with a deep industry background. We know a lot about silicone, die cutting machines, and production tools. We understand the silicone and die cutting making steps, along with specific material traits. This strong knowledge lets us design カシンダ molds perfectly made for candy tasks. In these tasks, even heat spread and great non-stick features are very important.
Controlling Temperature When Melting Hard Candy in Silicone Molds
Keep the cooking heat exactly between 295°F and 310°F (146°C to 154°C). This gives a smooth pour without burning the sensitive sugar. Too much heat causes burning. It also causes bad sticking, even on top-quality non-stick surfaces. Using a good digital thermometer gives steady results. This is true when learning how to melt hard candy or finding out how to melt hard candy evenly before pouring.
Cooling and Demolding Techniques for Melted Hard Candy
Let the melted hard candy cool slowly at normal room temperature after the pour. Quick chilling brings bad moisture. This moisture makes the candy stickier. Once the sweet mix becomes totally solid, bend the CASINDA silicone molds gently. Start from the outside edges. This gives a clean release without breaking the candy.

Can You Use Silicone Molds for Hard Candy Without Causing Sticking Issues?
Evaluating Silicone Mold Quality for Melting Hard Candy Applications
Top CASINDA silicone molds use excellent food-safe platinum-cured materials. They handle high heat up to 450°F (232°C) without losing their shape. This strength means they stay totally safe with hot sugars during different hard candy melting tasks. The planned wall thickness spreads heat evenly during both heating and cooling steps.
We use modern factory machines, like oil molding and liquid molding systems. These ensure very precise injection and curing steps. These steps promise steady product quality. These strong abilities mean that every single CASINDA mold keeps its exact size. This is true even after going through many heat cycles common in factory candy making.
Choosing the Right Mold Design for Different Types of Melted Hard Candy
Pick a proper hole depth for your task. Deeper holes hold larger candies well. This is because they lose heat more slowly. Shallower designs work much better for thin, delicate shapes. Always match the hole size with the exact amount of melted hard candy or hard candy powder melt you plan to use.
What Are the Best Techniques for Melting Hard Candy Safely and Evenly?
Methods for How to Melt Hard Candy in Oven or Microwave Settings
For normal oven use, set the heat to 300°F (149°C). Watch it closely until the mix becomes totally clear. A clear liquid shows it has melted right without burning. For microwave use with smaller amounts, like learning how to melt Jolly Ranchers in silicone molds, heat it in short 15 to 20-second bursts. Stir the mix well between each burst. Move the hot liquid into the pre-warmed silicone holes right away.
The Role of Hard Candy Powder Melt in Professional Confectionery Workflows
Crushed powder melts at a much lower temperature than solid, whole pieces. This feature greatly lowers the sticking risk inside the silicone molds. Mix the fine powder with either corn syrup or liquid glucose. This keeps a smooth feel. It also lowers unwanted crystal problems during the pouring step.

How Do Environmental Conditions Affect Melting Hard Candy in Silicone Molds?
Humidity and Airflow During Cooling of Melted Hard Candy
Normal room moisture directly changes how fast sugar crystals grow. Too much air moisture makes the melted hard candy stay sticky inside the mold holes. Steady air movement removes heat evenly. It also stops water drops from building up on the candy’s surface. Use a special dehumidifier or work in a closed room. This makes sure the pieces stay totally hard after you take them out.
Storage Practices After Demolding Hardened Candies from Silicone Molds
Keep the finished candies inside closed containers at normal room heat. Place them far away from bright sunlight. Put sheets of wax paper between the single layers. This stops the pieces from sticking together. Do not use the fridge at all. The resulting moisture puts water back onto the candy. This surely causes stickiness later on.
よくある質問
Q: Can you use silicone molds for hard candy without them sticking?
A: Yes, top CASINDA food-safe silicone molds made just for high-heat candy making give reliable non-stick results. This happens when they are prepared right with a tiny bit of oil or cooking spray before starting any hard candy melting steps.
Q: How do you melt hard candy evenly before pouring it into silicone molds?
A: Heat the sweets slowly using either an oven or a microwave. Do this until they reach about 300°F (149°C). Stir the mix often to ensure even melting. Then, move the hot liquid into warmed CASINDA molds made just for this exact job.
Q: What is the best way to prevent melted hard candy from sticking after cooling?
A: Let the candy cool slowly at room heat instead of using a fridge. Make sure all tools and molds stay very clean and totally dry before you use them. Lastly, bend the mold material very softly around the edges when taking out the finished pieces.
Q: Why does melted hard candy sometimes remain sticky after setting?
A: High room moisture or low cooking heat stops full and proper crystal growth. Always check for correct heating levels during cooking. Store the hard items only in dry places right after taking them from the molds.